Mastering Plasterwork: A Comprehensive Guide to Creating Perfect Plaster Every Time
Introduction
In this article we will tell you how to make plaster professionally. Whether to repair a wall, create a partition or make moldings, the plastering technique is essential in the field of construction and renovation. Follow our advice and tips to master this ancestral technique.
What is plaster?
Plaster is a building material composed primarily of a semihydrated calcium sulfate (CaSO4·½H2O). It is obtained from gypsum, a sedimentary rock present in abundance in certain regions of the world. The gypsum is heated to around 150°C to partially eliminate the water it contains and thus obtain the plaster in the form of a white powder.
The different types of plasters
- Traditional plaster: it is mainly composed of calcium hemihydrate (plaster) mixed with adjuvants which give it different properties (resistance, adhesion, etc.). There are several categories according to their setting time: fast (60 minutes).
- Plaster-based coating: it is a mixture of plaster and mineral fillers (sand, silica, etc.) which makes it possible to obtain a paste that is easier to apply to vertical surfaces. It is often used for smoothing walls and making joints between plasterboards.
- Specific plaster: certain plasters are formulated for specific applications, such as making moldings or restoring ancient heritage. They may contain specific adjuvants to improve their mechanical resistance, their elasticity or their adhesion to different supports.
Preparation of the support
To guarantee optimal results when applying the plaster, it is important that the surface is clean and dry. Here are some tips for properly preparing your surface:
- Carefully dust the area to be treated with a brush or vacuum cleaner.
- Check that the support is sufficiently solid and stable: if necessary, consolidate the friable parts with an appropriate coating.
- Treat any traces of humidity by identifying the cause (water infiltration, condensation) and remedying it before applying the plaster.
- If it is a painted wall or covered with a coating that is difficult to remove (vinyl wallpaper), first apply a suitable undercoat which will make it easier for the plaster to stick.
Preparation of the plaster
To obtain a homogeneous dough without lumps, it is important to respect the proportions indicated on the product packaging and to mix the ingredients correctly. Here are the steps to follow :
- Pour the necessary quantity of water into a clean container (bucket, basin).
- Gradually add the plaster in rain while stirring with an electric mixer or a trowel until you obtain a smooth and homogeneous consistency.
- Leave for a few minutes to allow the plaster to hydrate evenly, then mix again to remove any lumps.
Trick :
To prevent the plaster from setting too quickly, be sure to use cold water during preparation and work in an environment with a temperature between 10°C and 20°C.
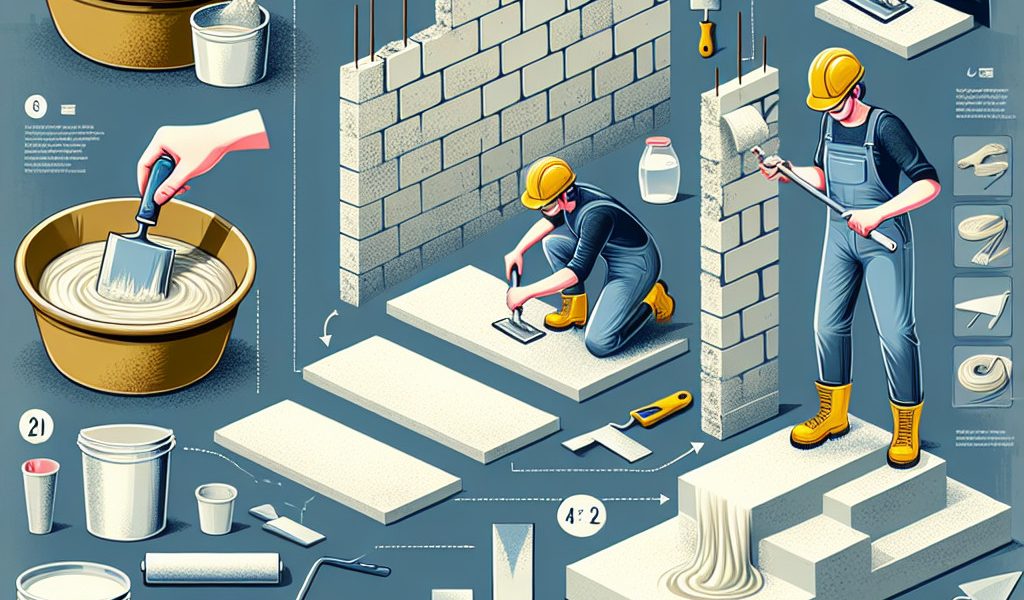
Application of plaster
Depending on the use you wish to make of the plaster (repair, coating, moldings), different application techniques can be used:
Repairing a wall or partition
- Apply the plaster in successive layers with a trowel or spatula: start by applying a first thin layer to fill in the irregularities of the support, then add thicker layers to obtain the desired finish.
- Smooth the surface with a trowel or trowel using circular movements, then lightly scrape the still fresh plaster with a toothed spatula to facilitate adhesion of the next layer.
Coating on wall or partition
- Apply the plaster-based coating with a trowel or plastering knife starting from the bottom and working upwards.
- Smooth the surface with a damp trowel using circular movements, then use a damp sponge to remove traces of plaster and obtain a perfectly smooth and uniform appearance.
Production of moldings
- Prepare a cardboard or wooden template according to the desired shape (cornice, rosette) and coat generously with specific plaster.
- Position the template against the support (wall, ceiling) and press firmly so that the plaster adheres correctly. Carefully remove the template without deforming the molding thus created.
- Leave to dry for a few hours before removing the burrs using a damp sponge or a fine file.
Drying and finishing
The drying time of plaster varies depending on its thickness, temperature and ambient humidity. It is generally between 24 and 48 hours, but can be longer in unfavorable conditions. To check that the plaster is completely dry, tap lightly with your finger: if no wet marks appear, you can proceed with the finishing touches:
- Sand any rough edges with fine-grit sandpaper (150-180).
- Apply a primer to standardize the surface and make it easier for the paint or wall covering to adhere.
- Proceed with painting or installing the covering according to your preferences.
By following these step-by-step tips, you should be able to carry out flawless plastering jobs. Do not hesitate to call a professional if you encounter difficulties or if you want to obtain an even more careful result.