Revamping Your Old Varnished Furniture: A Beginner’s Complete Guide to Painting Techniques
Introduction
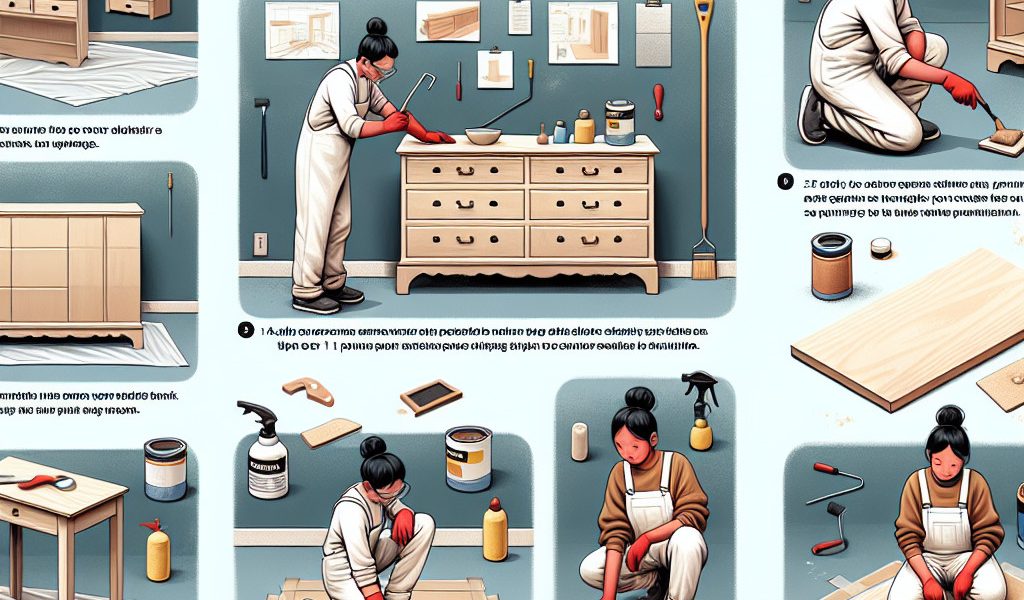
Painting varnished furniture can seem intimidating, especially if you are a beginner at DIY. However, with the right tools and a good method, it is possible to give a second life to your furniture while obtaining a professional finish. In this comprehensive guide, we explain step by step how to paint varnished furniture and share our practical advice for a successful project.
List of materials needed
- Sandpaper (80, 120 and 180 grits)
- Chemical stripper (optional)
- Wire brush or spatula
- Clean, damp cloth
- Underlay adapted to the support (wood or melamine)
- Acrylic or glycero paint depending on the desired effect
- Lacquer roller or flat brush for applying paint
Colorless protective varnish (optional)
Trick : Do not hesitate to seek advice from a professional in your DIY store to choose the type of paint and tools suitable for your project.
Step 1: Preparing the furniture
Before you begin, make sure the furniture is clean and free of dust. Also remove handles, hinges and other removable items to make painting easier.
Varnish stripping (optional)
If it is old or very damaged furniture, you can use a chemical stripper to remove the existing varnish. Apply the product according to the manufacturer’s instructions, then remove it with a wire brush or spatula. This step is not obligatory if the varnish is in good condition.
Sanding
Sand the entire piece of furniture with 80-grit sandpaper to create a slightly rough surface that will allow the underlayment to grip properly. Focus on areas with imperfections.
Trick : Use a sanding block to make this task easier and avoid marking the wood.
Cleaning
Wipe the furniture carefully with a damp cloth to remove any dust from sanding. Let it dry before moving on to the next step.
Step 2: Applying the undercoat
Mix the undercoat well before application. Apply a first layer of undercoat to the entire piece of furniture, respecting the direction of the wood fibers. Allow to dry according to the manufacturer’s recommendations (usually between 2 and 4 hours).
Lightly sand the surface with 180-grit sandpaper to remove rough edges and achieve a smoother finish. Wipe again with a damp cloth, then apply a second coat of undercoat. Let dry.
Step 3: Applying the paint
After carefully mixing your paint, apply it in thin, even layers, always in the direction of the wood fibers. Use a paint roller for large areas and a flat brush for more difficult to reach areas.
Trick : To avoid brush or roller marks, work quickly without loading your tool with too much paint.
Allow the first coat to dry according to the manufacturer’s instructions (usually between 6 and 12 hours). Lightly sand with 180-grit sandpaper, wipe with a damp cloth and apply a second coat of paint. Repeat this operation until you achieve the desired opacity (usually two or three coats are enough).
Step 4: Finishings (optional)
To protect your furniture and extend the life of the paint, you can apply a colorless protective varnish. Choose a varnish suitable for the type of paint used (acrylic or glycero) and follow the manufacturer’s instructions for application.
Conclusion
Painting varnished furniture is a task accessible to DIY beginners, provided you are well equipped and follow the steps described in this guide. Take the time to properly prepare your furniture before applying the paint, respect the drying times recommended by the manufacturers and do not hesitate to seek the help of a professional if necessary. Happy painting!
Note : For melamine surfaces, choose a specific undercoat.