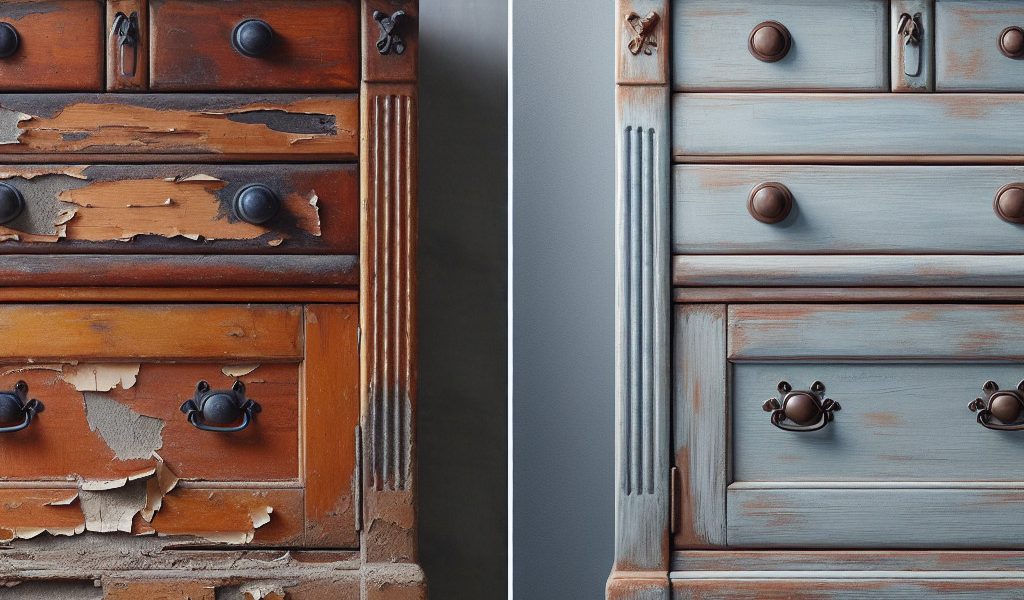
Revamping Rundown Decor: A Comprehensive Guide to Successful Furniture Transformation
THE furniture makeover, also called upcycling or customization, consists of giving new life to old or damaged furniture by renovating it and modifying its appearance. The goal is to create a unique and personalized object while respecting the environment and avoiding waste. In this article, we present to you the key stages of relooking a piece of furniture before and after its transformation.
Step 1: Choose the right furniture to remodel
It all starts with selecting the piece of furniture you want to transform. It could be an item found at a flea market, inherited from a loved one or simply purchased in a second-hand store. The ideal is to choose a solid and well-built piece of furniture that can withstand the modifications made without losing its functionality.
Important criteria:
- Solidity: check that the wood is not too damaged (worm-eaten, cracked) and that the structure is stable.
- Potential: make sure that the design of the furniture offers interesting possibilities for customization (adding decorative elements, changing colors).
- Functionality : keep in mind that the furniture must retain its primary function (storage, seat, support) even after the transformation.
Step 2: Prepare and gather the necessary materials
Before you begin your furniture makeover, it is important to prepare well. Gather all the necessary tools and supplies to avoid having to run to stores mid-construction. Here is a non-exhaustive list of equipment you may need:
-
- Sandpaper or electric sander
- Chemical or thermal stripper (if necessary)
- Wire brush and/or spatula
- Bonding underlay adapted to the support (wood, metal, etc.)
- Acrylic or glycero paint according to your preferences
- Varnish or protective wax for finishing
- Brushes, rollers and paint trays
