Mastering the Art of Laminate Flooring Installation: A Comprehensive Guide for Beginners
Introduction
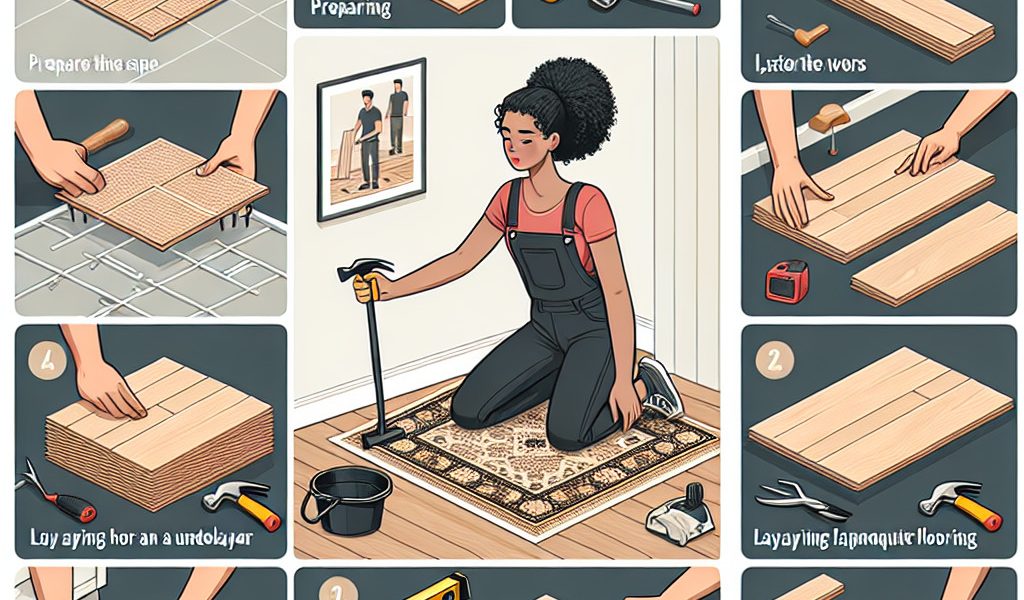
Laying a floating floor is an excellent solution for renovating and beautifying your floor. This type of coating offers several advantages, such as ease of installation, aesthetics and durability. In this guide we will explain how to install laminate flooring step by step so that even beginners can successfully complete this task.
Advantages of laminate flooring
- Easy installation: the clipping system allows quick installation without nails or glue.
- Variety of styles: available in solid wood, composite or laminate with different finishes and colors.
- Durability: Resistant to daily wear and scratches (depending on quality).
- Easy maintenance: simple cleaning with a broom or damp mop.
Types of floating floors
- Solid wood : made of entirely natural wood boards. Offers great longevity but requires more maintenance.
- Composite: mixture of wood fibers and synthetic resins pressed at high temperature. Less expensive than solid wood while maintaining a natural appearance.
- Laminate: composed of a layer of melamine imitating wood on a base of compressed wood fibers. Very durable and economical.
Hardware required for installation
- Laminate flooring (allow 5% extra for scraps)
- Thermal and sound insulating underlay
- Spacers, tape measure, spirit level, pencil
- Jigsaw or handsaw, miter box for specific cuts
- Hammer, wooden block or mallet to fit the blades together without damaging their edges.
- Skirting boards and threshold bar matched to the chosen parquet flooring
.
Step 1: Preparing the soil
To ensure the success of your installation, it is essential that the floor is flat and dry. Start by checking the flatness of the floor with a spirit level and correct if necessary with a self-leveling leveler. Next, make sure the surface is clean and free of moisture using a hygrometer.
Installation of the insulating underlay
Unroll the insulating underlay in the opposite direction to the parquet boards (perpendicular), making sure that the strips overlap each other (approximately 20 cm). Secure the underlayment to the floor with double-sided adhesive.
Step 2: Laying the floating floor
For a better visual effect, it is recommended to install the slats lengthwise in the room and parallel to the main light source (window).
- Start by placing spacers (approximately 8mm) against the walls to allow the flooring to expand freely.
- Position the first board with its tongue facing the wall and fit the following boards, respecting an offset of at least 30 cm between each joint.
- Cut the last blade so that it fits perfectly in the remaining space. Use this scrap to start the next row to avoid waste and create an irregular pattern.
.
.
Specific cuts
When you encounter obstacles such as pipes or corners, carefully measure their position on your blade and make a precise cut using a jigsaw or handsaw. For corner cuts, use a miter box to get a clean, snug cut.
Step 3: Finishes
Once all the rows are installed, remove the spacers and install the plinths to hide the free space around the flooring. Attach them to the wall with screws or special plinth glue.
Finally, install a threshold bar at passages between different rooms to ensure a harmonious transition and protect the edges of the parquet floor.
Practical advice
- Allow the parquet to acclimatize to the temperature and humidity of your room for 48 hours before installation by storing it flat in its original packaging.
- Regularly check the condition of the tools (saw blades, spirit level) to guarantee precise and careful work.
.
.
By following these steps and tips, you will be able to install a successful floating floor that will bring warmth and aesthetics to your interior. Good luck !