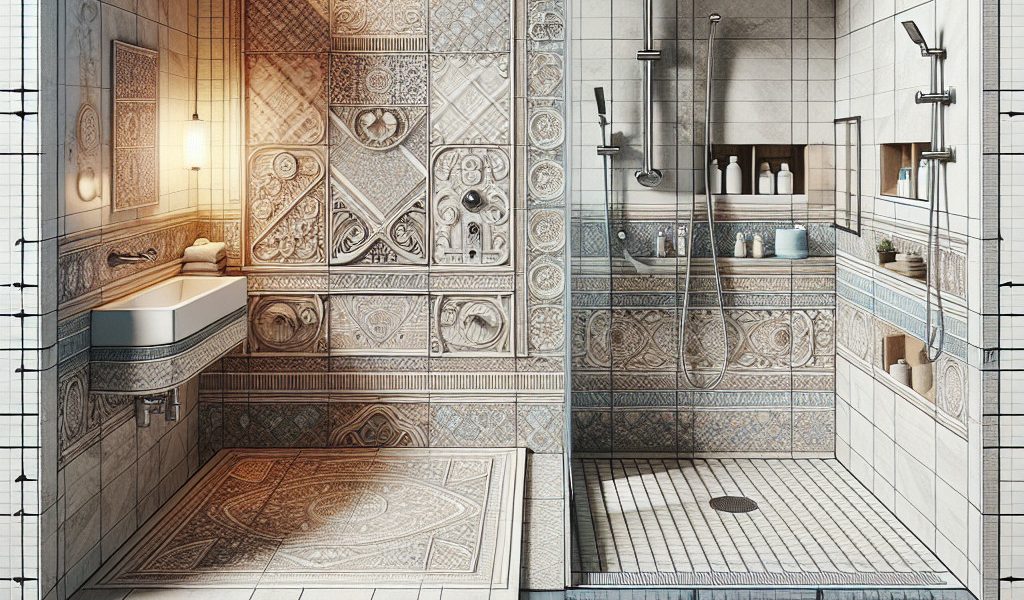
Mastering the Art of Italian Tiled Shower: A Comprehensive Guide to Perfect Layouts
Introduction to Italian shower tiles
There Italian shower tiles is a bathroom design solution very popular for its aesthetics and practicality. It is characterized by a uniform floor surface, with no demarcation between the tray and the rest of the room. In this article, we offer you a complete guide to successfully installing an Italian shower with tiles.
The advantages of a tiled Italian shower
- Aesthetics: The visual continuity offered by the tile covering gives a modern and refined appearance to your bathroom.
- Functionality : The absence of steps makes access to the shower easier, which can be particularly useful for people with reduced mobility or seniors.
- Versatility: The choice of materials (porcelain stoneware, earthenware, mosaic, etc.) and formats allows you to adapt the design according to your tastes and technical constraints.
- Sustainability : When properly installed and maintained, tiles are resistant to stains, thermal shock and chemicals. It also has excellent longevity.
The steps for creating a tiled Italian shower
To install an Italian shower with tiles, it is important to follow these steps:
- Evaluate technical feasibility: First of all, check that your bathroom has the necessary conditions to accommodate a walk-in shower (drainage, slope, ceiling height, etc.).
- Design the layout plan: Take into account technical constraints and your aesthetic preferences to determine the location and dimensions of the shower. Don’t forget to include enough space to walk around.
- Prepare the ground: Remove the old covering if necessary and level it to have a flat, clean surface. It is also essential to set up a minimum slope of 1% towards the evacuation.
- Install the tray or the waterproofing mat: These elements help prevent water infiltration into the ground. Make sure they are properly installed according to the manufacturer’s recommendations.
- Waterproof the walls: Apply a specific product to the walls surrounding the shower area to avoid any risk of leaks.
- Set up the evacuation system: Install the shower drain and connect it to the drainage network in compliance with current standards.
- Lay the tiles: Choose tiles suitable for the bathroom (non-slip, water-resistant, etc.) and install them according to the rules of the art. Don’t forget to provide waterproof seals to ensure perfect waterproofing.
- Install the faucets and accessories: Install the mixer, the shower column and the additional elements (towel racks, shelves, etc.).
Tips for choosing the right tiles for your Italian shower
To succeed in your project, it is important to carefully select the type of tiles suitable for your Italian shower. Here are a few tips :
- Focus on anti-slip: Opt for a covering that offers good grip to avoid any risk of slipping.
- Consider the format: Large formats are easier to install and give the impression of space, while small formats (mosaics) make it easier to follow the slope towards the drain.
- Play with colors and patterns: The choice of colors and designs can influence the general atmosphere of your bathroom. Don’t hesitate to combine several types of tiles to create an original visual effect.
- Prioritize quality: Good quality tiles will better withstand the stresses of a bathroom (humidity, shocks, etc.). Also remember to check the standards in force (UPEC) to ensure that the product is suitable for its intended use.
Conclusion
The tiled Italian shower offers a modern and functional layout for your bathroom. To successfully complete this project, it is essential to carefully plan the installation steps and choose the right type of tile. By following these tips, you will take full advantage of the advantages offered by this planning solution.
