Master the Art of Ceiling Painting: A Comprehensive Guide to Pro-Level Techniques
Introduction
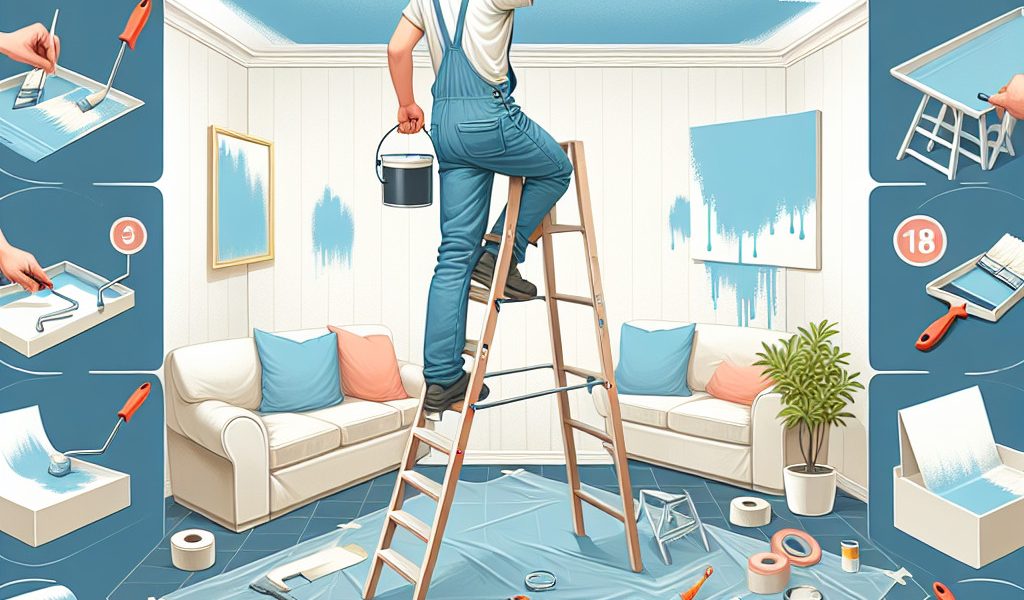
Painting a ceiling may seem like a daunting task, but with the right techniques and tools, you can achieve professional results. In this article, we will show you how to paint your ceiling efficiently and cleanly by following a few simple steps.
1. Preparing the space
Before you start painting, it is important to prepare the room properly to avoid damaging your furniture and floors. Here are some tips to protect your space:
- Cover all furniture with plastic sheeting or sheets.
- Protect the floor with a non-slip drop cloth or kraft paper.
- Mask moldings and other decorative elements with masking tape.
- Disassemble the fixtures if possible or wrap them in plastic to prevent them from being stained by paint.
2. Choice and application of an undercoat (if necessary)
Applying an undercoat may be necessary if your ceiling has significant staining or has never been painted before. The undercoat will also allow the final paint to adhere properly and cover the ceiling evenly. Choose an undercoat suitable for the surface (plaster, wood, etc.) and the type of paint you will use.
Apply the undercoat with a long-nap roller using criss-cross motions to ensure even coverage. Allow to dry according to manufacturer’s recommendations before applying final paint.
3. Selection of the right paint
To choose the right paint for your ceiling, consider the following factors:
- Type of paint: Opt for paint specifically designed for ceilings, as they are generally less likely to drip and provide a more uniform finish.
- Finishing : Matte finishes are preferable for ceilings because they minimize the appearance of imperfections and reduce glare.
- Color : Light colors give the impression of a larger and brighter space. You can also choose a slightly different color from the rest of your walls to add subtle contrast or create an interesting visual effect.
4. Cleaning the ceiling before painting
To achieve optimal results, it is important to remove any dust or dirt from the ceiling before starting to paint. Use a soft-bristled broom or vacuum cleaner with a brush attachment to gently clean the surface. If your ceiling has stubborn stains, use a damp sponge and a little mild detergent to remove them.
5. Filling imperfections
Inspect the ceiling carefully for cracks, holes or other imperfections that need to be repaired before painting. Use a filler suitable for the type of surface (plaster, wood, etc.) and apply it according to the manufacturer’s instructions. Let it dry completely before moving on to the next step.
6. Light sanding
To ensure a smooth and uniform finish, lightly sand the ceiling after filling in any imperfections and the coating is completely dry. Use fine-grit sandpaper (120-150) and use circular motions over the entire surface of the ceiling. Remember to wear a dust mask when sanding.
7. Careful application of paint
To avoid drips and streaks when applying paint:
- Mix the paint well in its pot with a wooden chopstick to obtain a uniform consistency.
- Use a paintbrush to paint the edges of the ceiling and areas near moldings or other decorative features.
- Apply the paint with a long-nap roller using criss-cross motions (forming a “W”) to ensure even coverage.
- Allow to dry according to the manufacturer’s recommendations, then apply a second coat if necessary.
8. Choice of tools and calculation of the required quantity of paint
To obtain a professional result, it is important to use quality tools:
- Choose brushes suitable for the corners and corners of the ceiling.
- Choose a roller with a long nap for better application on uneven or textured surfaces.
To calculate the amount of paint needed, measure the total ceiling area (length x width) and divide it by the yield listed on the label of your paint can. Remember to include in your calculation the number of coats you plan to apply. It is better to buy a little more paint than you need in order to avoid problems related to running out of product while working.
Conclusion
Now that you know how to paint a ceiling like a professional, all you have to do is put these tips into practice. With a little patience and care, you will achieve a result you can be proud of.