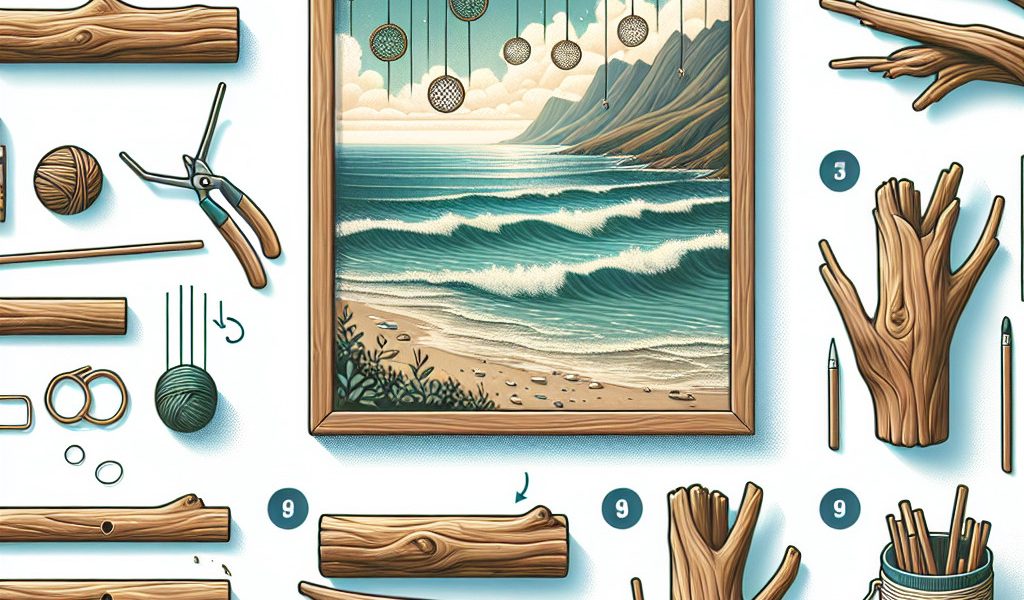
Embrace Beach Vibes: A Detailed Step-by-Step Guide to Creating Stylish Driftwood Decor
Introduction
Driftwood is a natural and ecological material that brings a touch of authenticity and charm to your interior decoration. It can be used to make various decorative objects such as photo frames, towel racks or even lamps. In this guide, we’ll walk you through how to create driftwood step by step, starting with preparation, then cleaning, and finally optional finishes.
Necessary materials
- Wood to be transformed into driftwood (branches, boards, etc.)
- Baking soda
- Hot water
- Container large enough to submerge the wood
- Bleach (optional)
- Wire brush or hard brush
Sandpaper (various grits)
Wood filler (optional)
Gloves and protective glasses
Safety Precautions:
Remember that some chemicals can be dangerous. So make sure you work in a well-ventilated room and keep the products out of reach of children.
Step 1: Preparing the wood
Soaking in baking solution
To give the wood the aged, weathered look characteristic of driftwood, it is necessary to soak it in a solution of hot water and baking soda. Here’s how to do it:
- Fill a container with enough hot water to completely cover the piece of wood.
- Add baking soda to the water (about 250g per 10 liters of water) and stir until dissolved.
- Dip the piece of wood into the solution and let it soak for at least 24 hours. If you want to achieve a more pronounced effect, you can extend this duration up to several days.
Step 2: Cleaning the Wood
Using a wire or stiff brush
Once soaking is complete, carefully remove the piece of wood from the container and remove any dirt that has accumulated on the surface by scrubbing with a wire brush or stiff brush. This step also allows you to remove the fibers detached by the action of the bicarbonate.
Rinse with clean water (optional)
To remove bicarbonate residue, rinse the wood with clean water. If you want to further accentuate the aged look of the wood, you can also rinse with diluted bleach (approximately 1 part bleach to 10 parts water).
Drying
After cleaning and rinsing the piece of wood, let it air dry for several days until it is completely dry.
Step 3: Optional Finishes
Sanding
If necessary, lightly sand the surface of the wood with sandpaper to remove any rough edges or imperfections. Start with a medium grit then finish with a fine grit to achieve a smooth, even surface.
Application of wood filler (optional)
In some cases, it may be useful to apply a thin layer of wood filler to certain parts of the piece to fill in any cracks or holes that may detract from its aesthetics. Allow the paste to dry according to the manufacturer’s instructions before lightly sanding to even out the surface.
Ideas for Using Completed Driftwood
Now that your piece of wood has been transformed into a real decorative piece, here are some ideas for using it:
With these simple steps, you can create your own driftwood decoration. Give free rein to your imagination and bring your decorative projects to life with this natural and ecological material!
